Character animator Traditional 2D character animation can be a laborious and time-consuming process. In this Adobe Character Animator training course I'll share my essentials tips and techniques for making the processes involved in 2D...
Character Animator Training
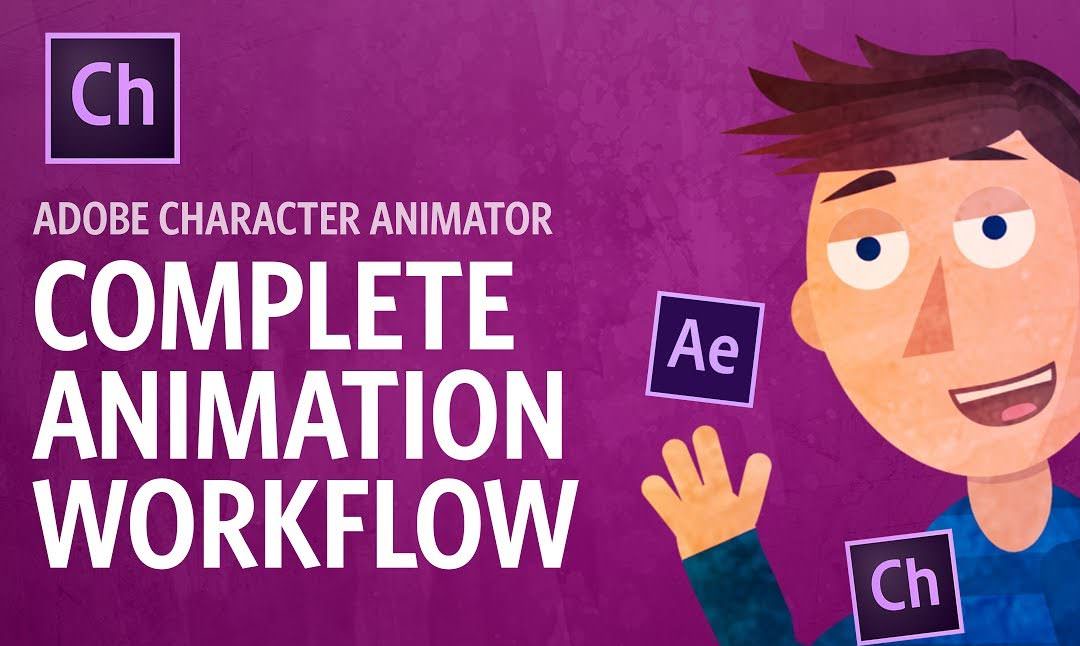
Character animator
Traditional 2D character animation can be a laborious and time-consuming process. In this Adobe Character Animator training course I’ll share my essentials tips and techniques for making the processes involved in 2D character animation less painful.
Character animator training course
In this one-to-one training workshop Angie shares her industry secrets with you. You’ll learn how to import layered files and paths from Illustrator into After Effects. See how easy it is to animate flat vector artwork in both 2D and 3D space, and you’ll explore options for outputting your animations.
Topics covered include:
- Setting up After Effects for creating 2D character animation
- Using input devices to capture motion and apply it to your characters
- Creating animation and lip-syncing with audio files, using expressions and scripting to make the process easier
- Applying grouping techniques and using parenting to create hierarchical animations
- Following the best working practices for outputting your animations for the web, TV, and mobile devices.
Watch examples of Angie’s tutorials
Character Animator Training
read more

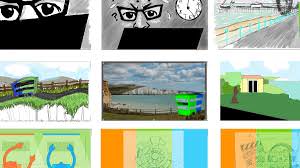
Storyboards & Animatics
Storyboards & AnimaticsAngie has taught her course on storyboard and animatic production at The Lighthouse in Brighton and at the University of Brighton's Digital Media MA course. She now teaches this exciting course at Creative Cabin. Adobe...

Premiere Pro Training
One-to-one Premiere Pro training All Premiere Pro training courses at Creative Cabin are one-to-one courses. All courses are taught by Adobe Community Expert, Angie Taylor. Angie will customizse the training course to fit your unique workflow....

Your Instructor - Angie Taylor
![]()
All courses are taught by artist, Angie Taylor. Angie worked as a motion graphic designer for over 25 years.
She was a demo artist for Adobe and is an Adobe Community Professional. You can see examples of Angie's work here on her portfolio.
Angie is a lecturer at the Univeristy of Brighton. She has taught children and adults at several colleges, schools and universities.
Angie has several books & courses published on design & animation.